ZAPP FEEDBACK GUIDELINE For Customer
OVERVIEW
PURPOSE
The document provides the detail description of the usage the Zapp Feedback online software with illustrated screenshots.
SCOPE
This document is used for customer to manage Organization Units (Outlets), Surveys, Questions
GETTING STARTED
To access to online Zapp Feedback; user can follow either 1 of the 2 options
- From ZappFeedback website at http://app.cadena-zapp.com/ click on Login button on the Home Page

- Access directly to Zapp Feedback software by using the URL: http://zapp.cadena.com.sg/
The Admin Account will be provided by Zapp Support Agent.
ACCESS TO ZAPP FEEDBACK
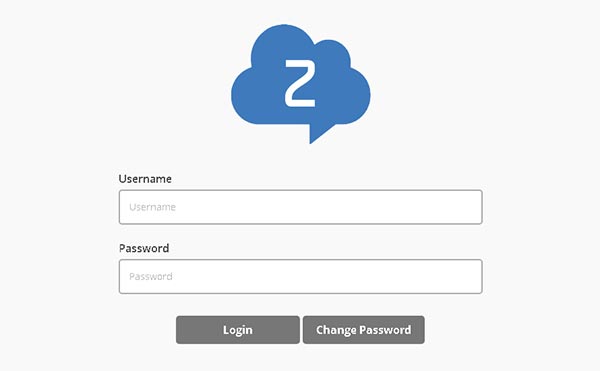
You can login with the default account which is provided by Zapp Support Agent at login page below;
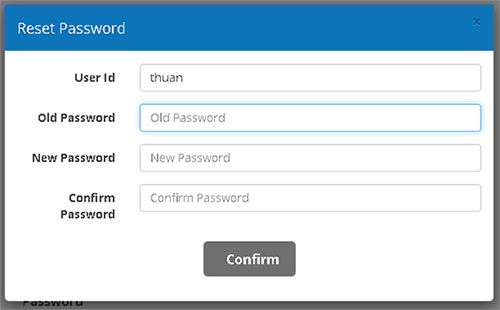
And you are required to change password at the first login, or when the password is reset back to default password.
After first login, the Reset Password form will be auto displayed and you need to enter new password.
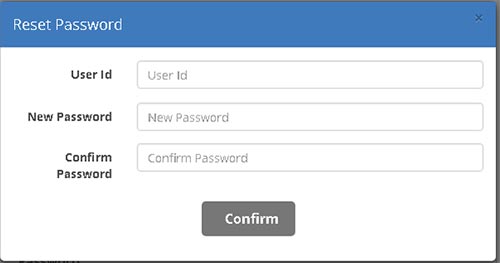
After the New Password is confirmed, you can then log in the system with the notification message and access to the Company Information page.

To change your password:
- At login page, click on Change Password
- Change Password form will be auto displayed; you need to enter old password, and new password
- Confirm the new password, and you will be back to the Login Page.
In case you forgot the password, please contact Zapp Support Agent.
ZAPP FEEDBACK FUNCTIONS
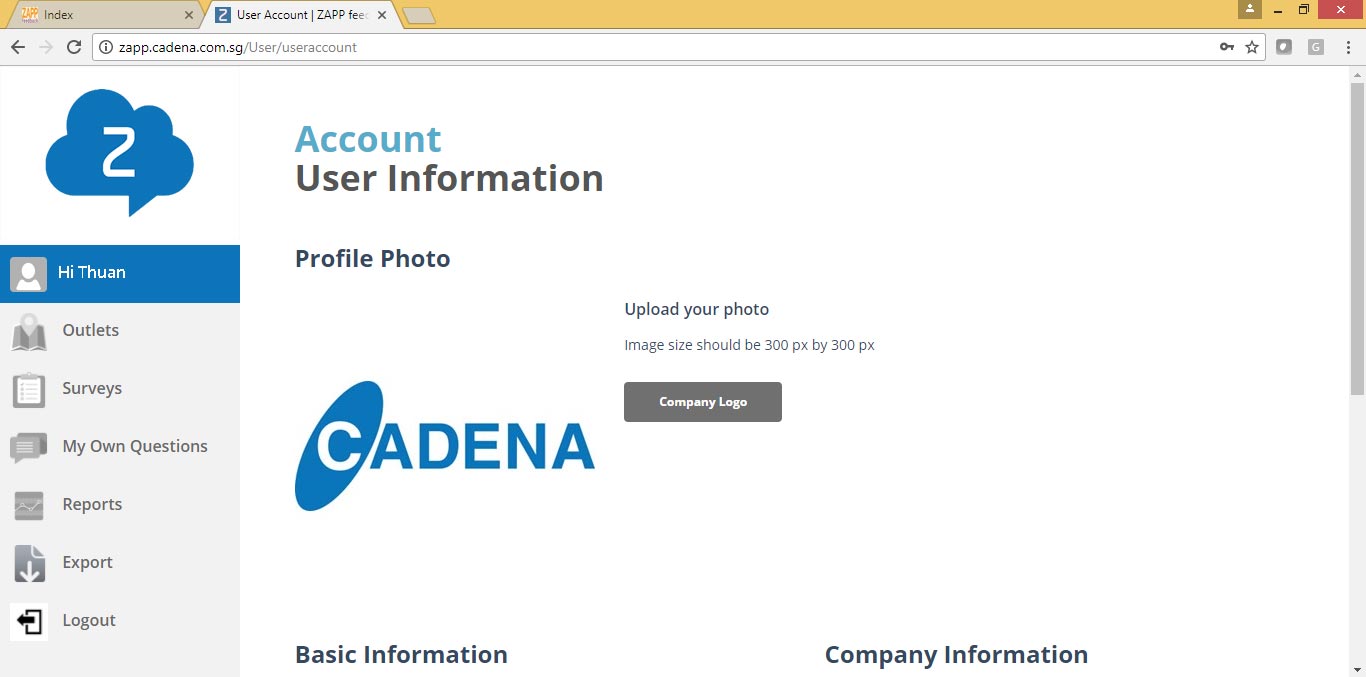
User/Account Information
To view/update User/Account Information, click on Hi [Your Account Name] on the left menu

Following information you can add/manage in this function
- Profile Photo (Company Logo): this allows you to upload photo from your computer; the logo then will be displayed on the Survey
- Basic Information
- Company Information
Organization Units (Outlets)
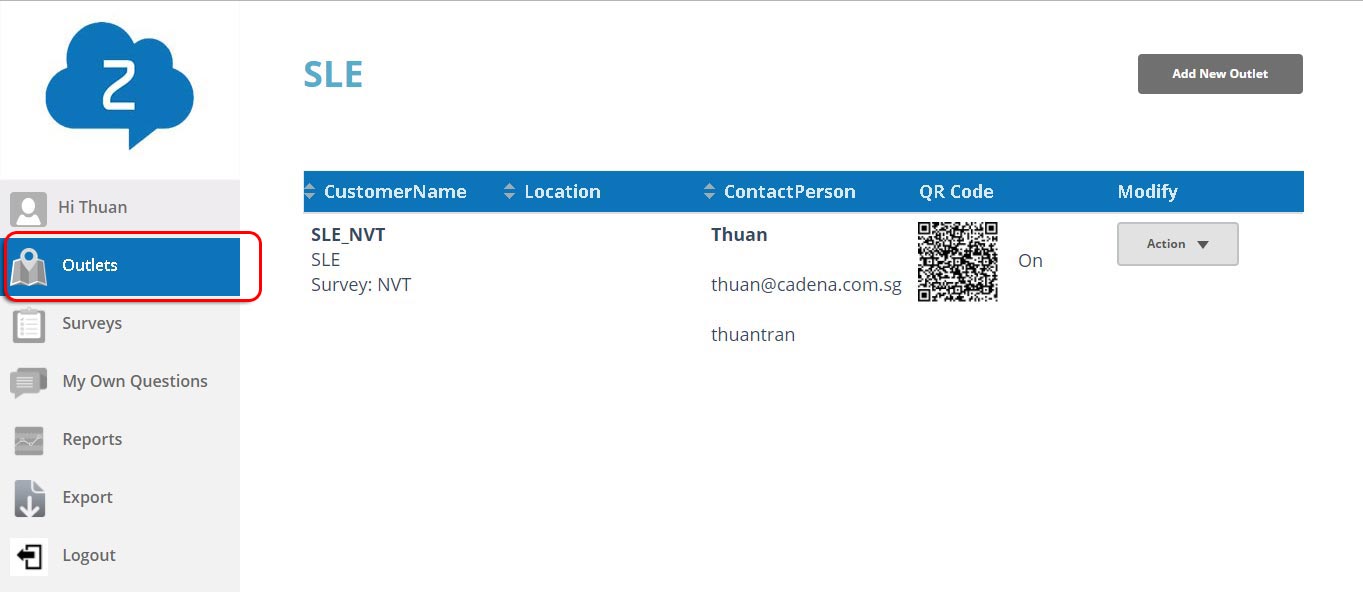
Click on Outlets on the left menu to access to Outlets Management function.
To Add New Outlets
- Click on Add New Outlet button on top
- The form will be displayed [Create Outlet] that allow you to input Outlet information
- Enter required information and click button Create
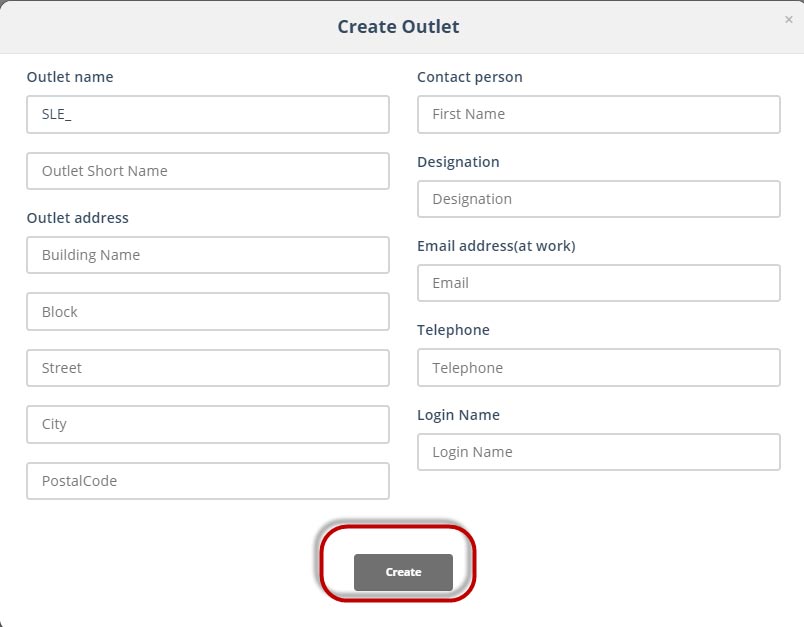
Besides your admin account, you can also create 1 addition account for each outlet; the Login Name can be entered in Login Name field with default password is ‘1234’.
When the Outlet is created, it will be displayed on the main screen as below with main information:
- Customer Name: Outlet (SLE) Name. On this column, you can see also the Survey is used by this Outlet. If no Survey is used/mapped; it will show:
- Contact Person: show the Name, Email Address and the Login Name
- QR Code: this is auto generated for each outlet which can be captured by smartphone to accesss to the Survey.

- Access to the Survey: there are 2 options to access to the Survey of the outlet after created; you can get this screen by clicking on the QR Code.
- Scan QR Code by smartphone
- User enter the provided URL on the popup

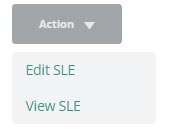
To view/edit the Outlet (SLE), click on Action button
Surveys
Click on Surveys on the left menu to access to Survey to view and create new survey
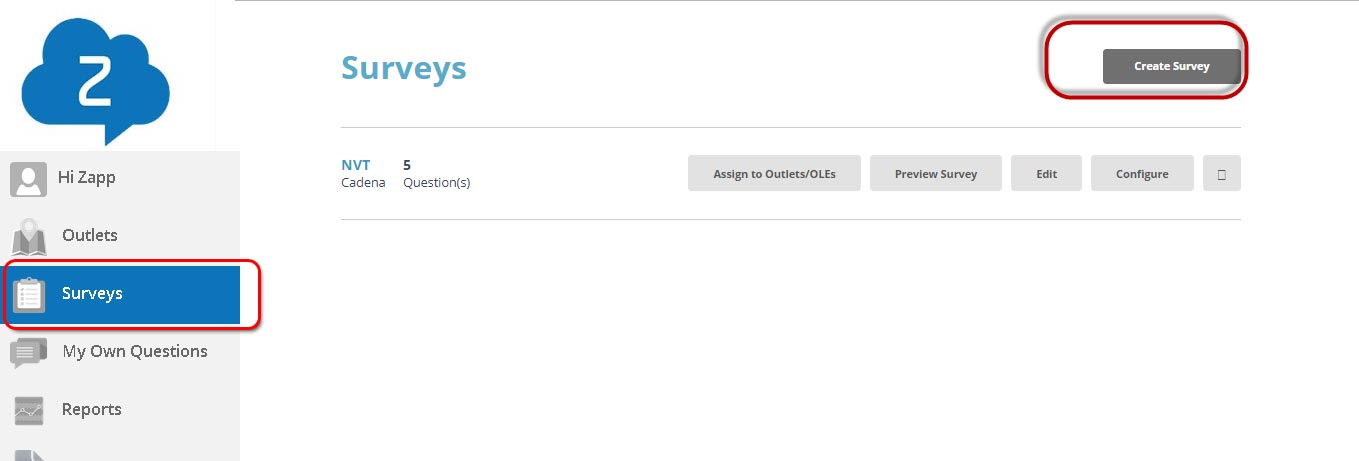
To create a survey:
- Click on Create Survey button
- Enter Survey Name
- Select Question and Question Category
- Click on [+] to add a question into the Survey
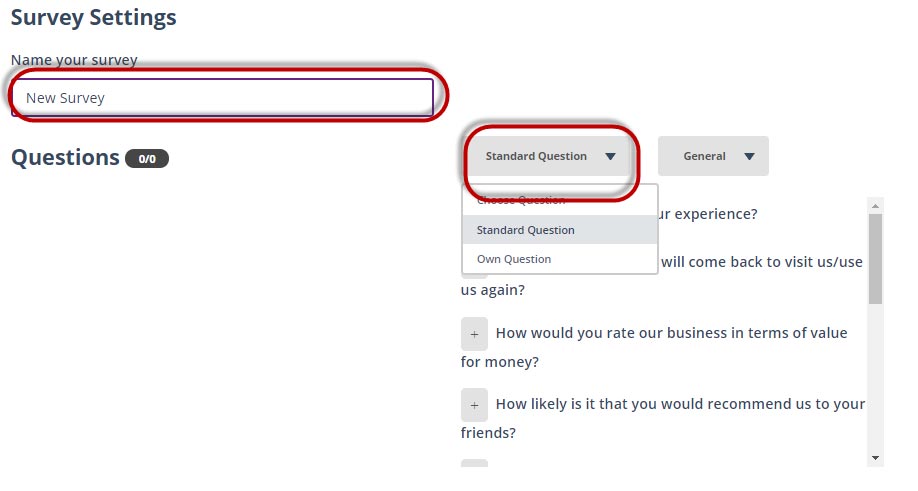
To remove a question from Survey, click on [-] button

There are 2 types of questions that you can add into the Survey
- Standard Questions: Standard built in questions by Zapp
- Own Questions: your own questions; please see [4.4 My Own Questions] for how to create your owns.
After you completed adding questions into Survey, click on [Save and Exit] button on top
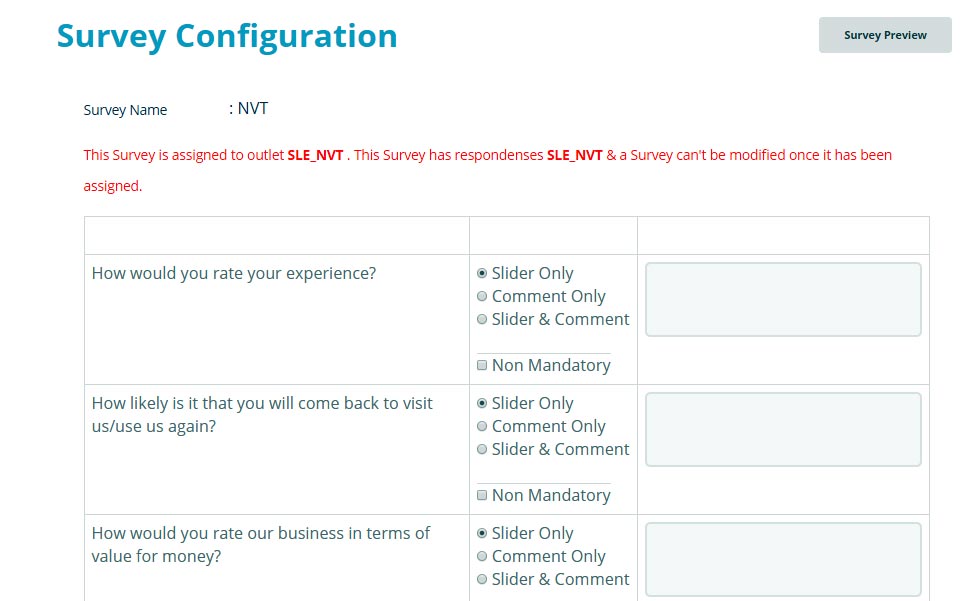
The system will auto open the next page that allows you to configure the feedbacks type of the survey. There are 2 types of feedback types:
- Slider only: User can only provide feedbacks on the slider from 1 to 10
- Comment: User can only provide feedbacks by entering the comment
- Slider and Commet: User can do both slider and entering the comment.
For each question, you can check on [Non Mandatory] to allow the user skip.
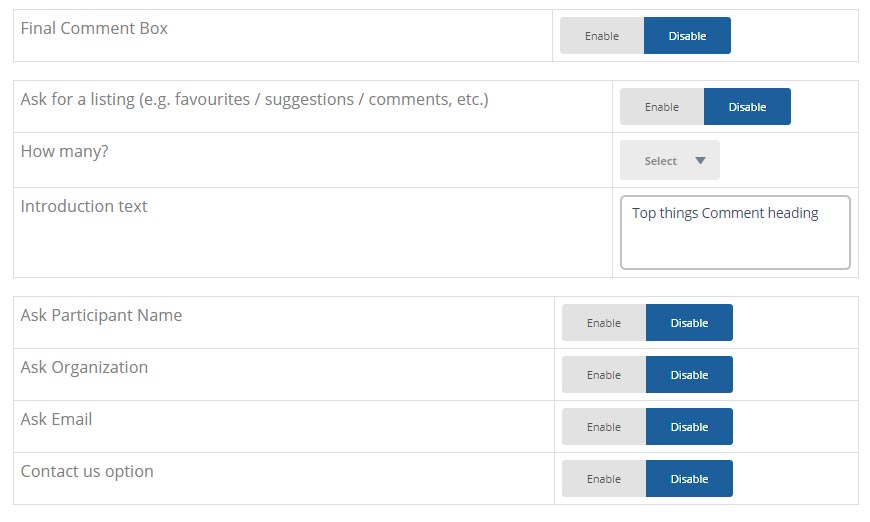
Besides the configuration for each question, you can also configure some more general iterms:
- Final Comment Box: If this is enable, user need to provide the final comment
- Ask for a listing: if this is enable; user need to give a list that matchs to next configuration box (How many?)
- Ask for user information: Name, Organization, Email
Assign Survey to Organization Unit/Outlets
To assign Surveys to Outlets; click on Assign to Outlets/OLEs
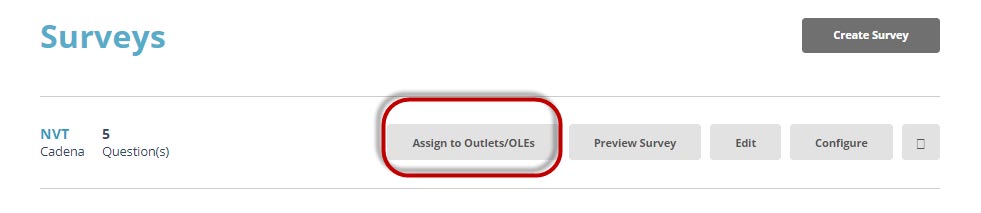
A popup will displays that allow you to select the Outlets for the Survey

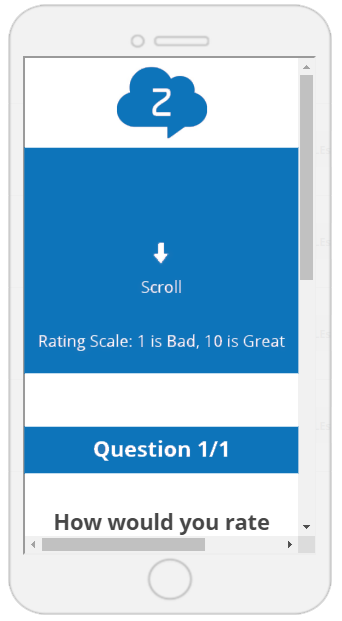
To review the survey

- Click on Review Survey button
- System will display a mockup screen that reflect how the user will see the Survey on their mobile phone screen.
To Edit the survey
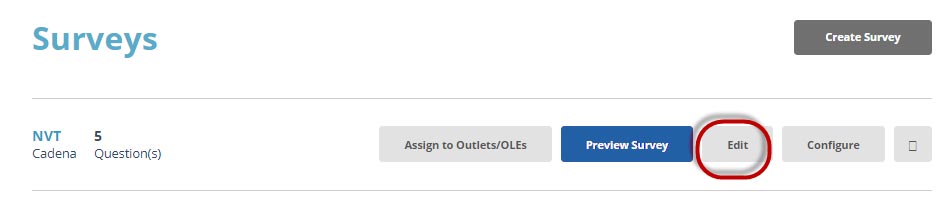
- Click on Edit button
- Detail Survey page will be opened where you can add/ remove the questions
To Configure the survey
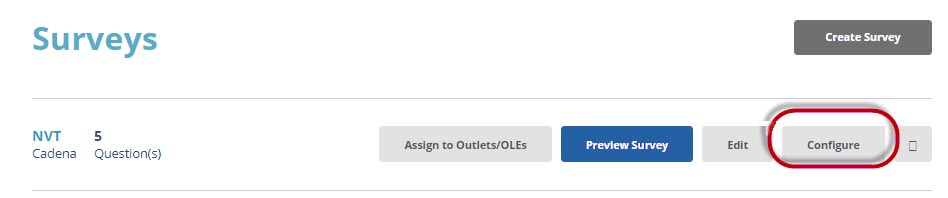
- Click on Configure button
- The Survey Configuration page will be opened where you can configure the feedback types for each questions
To Delete the Survey

- Click on Checkbox at the end of the row
- A confirmation pop up will displays
- Click Yes to delete.
Click on My Own Questions on the left menu to create your own questions to build the survey besides standard questions

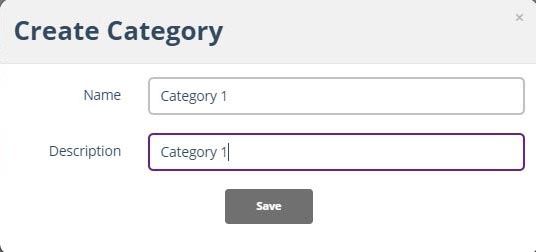
To create Question Category
- Click on Question Category
- Click on Create New Question Category
- Enter Name/ Description and click Save
To Edit the Category

- Click on Edit button
- The Popup will display that allows you to edit Name/ Description
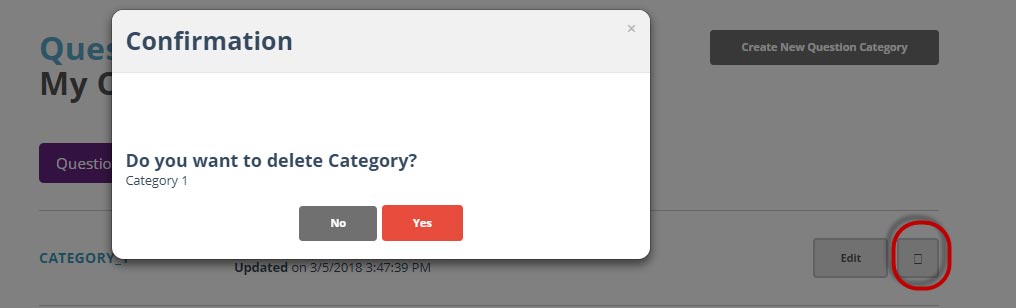
To Delete the Category
- Click on Checkbox at the end of the row
- A Confirmation popup will display
- Click Yes to delete.
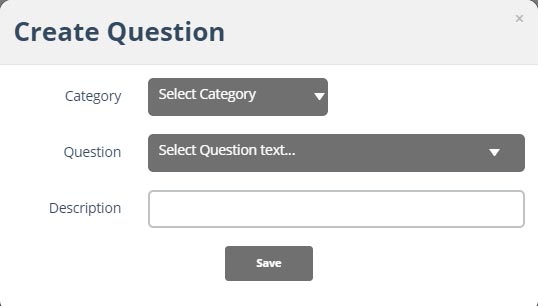
To create Question, click on Question List
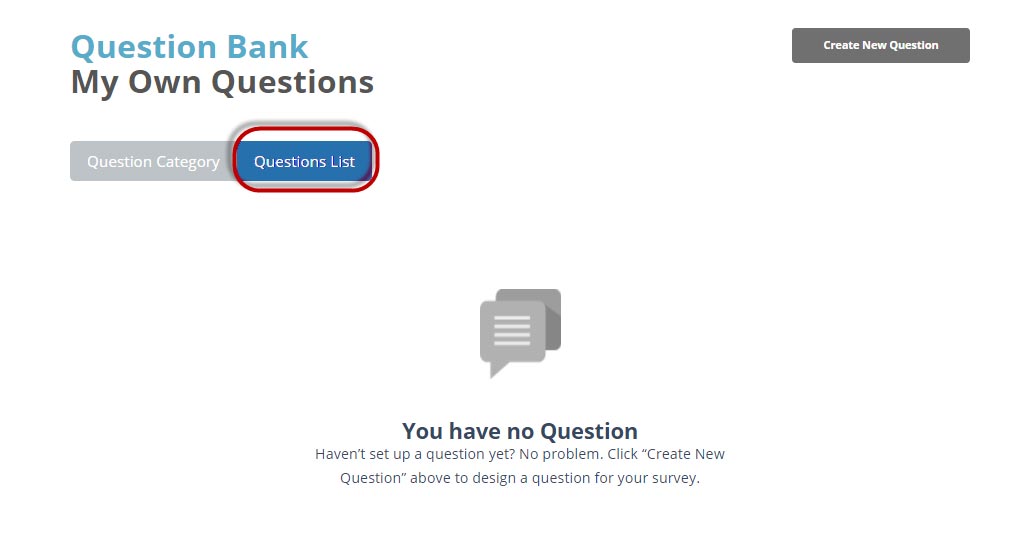
- Click on Create New Question to create your own question
- Select the Category
- Click Save button to finish.
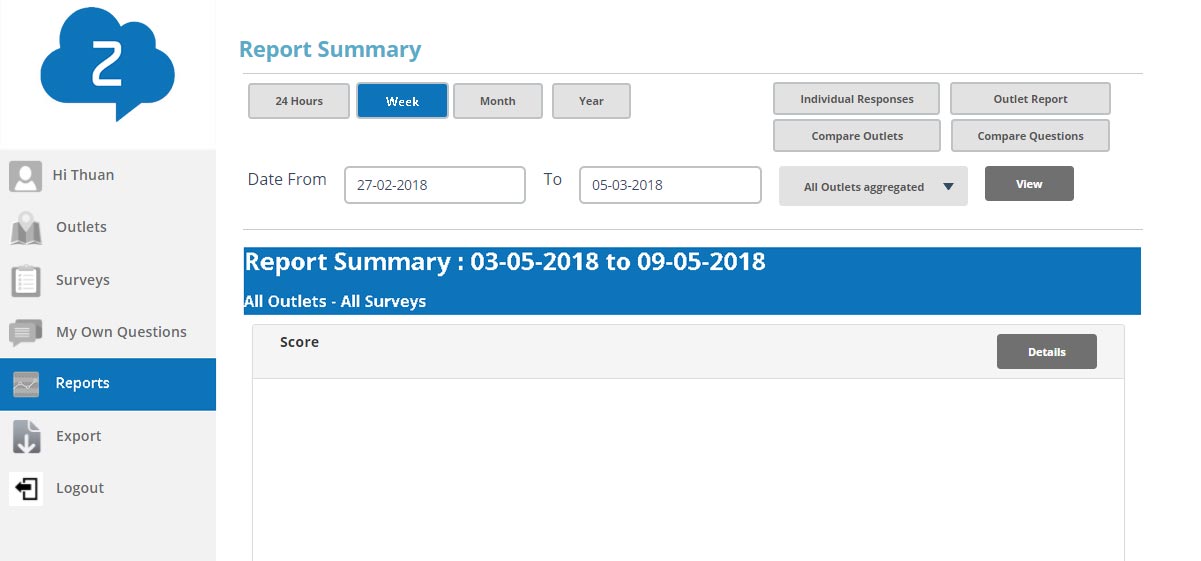
Click on Reports on the left menu to explore standard reports from the system
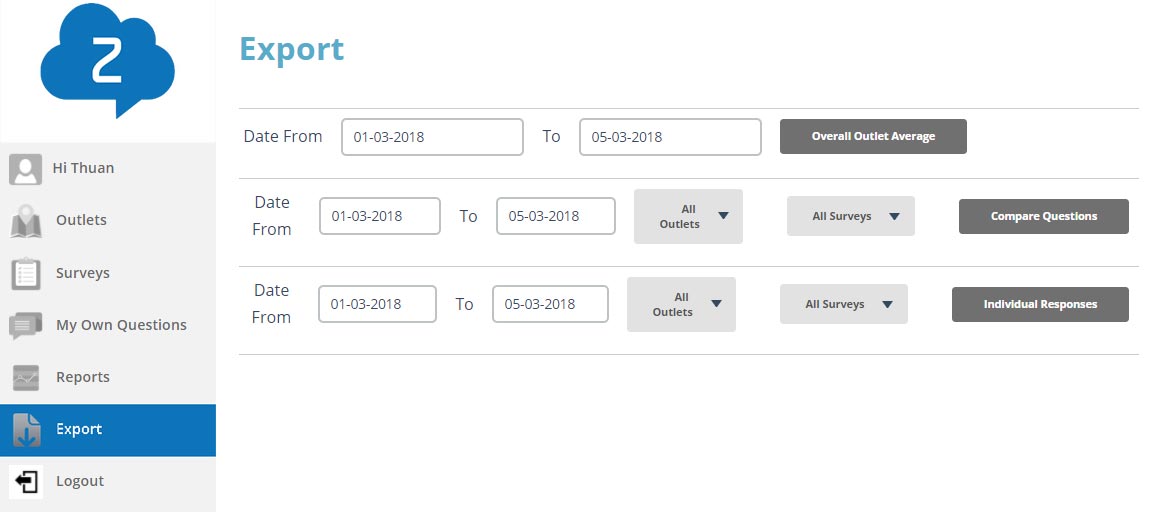
Export
You can extract data into excel by accessing into Export on the left menu; the following information can be extracted with selected date range
- Overall Outlet Average
- Compare Question
- Individual Responses